Introduction
When it comes to household maintenance, the kitchen sink stands out as one of the most frequently used and vital components. Over time, wear and tear are inevitable, leading to the need for repairs. In this comprehensive guide, we will walk you through each step of kitchen sink repair, ensuring that your sink functions optimally and looks as good as new.
Assessing the Damage
The first crucial step in the repair process is accurately assessing the damage. Before diving into any fixes, take a close look at your sink. Look for visible cracks, leaks, or loose parts that may be compromising its functionality. Identifying the specific issues will guide your repair strategy.
Tools and Materials
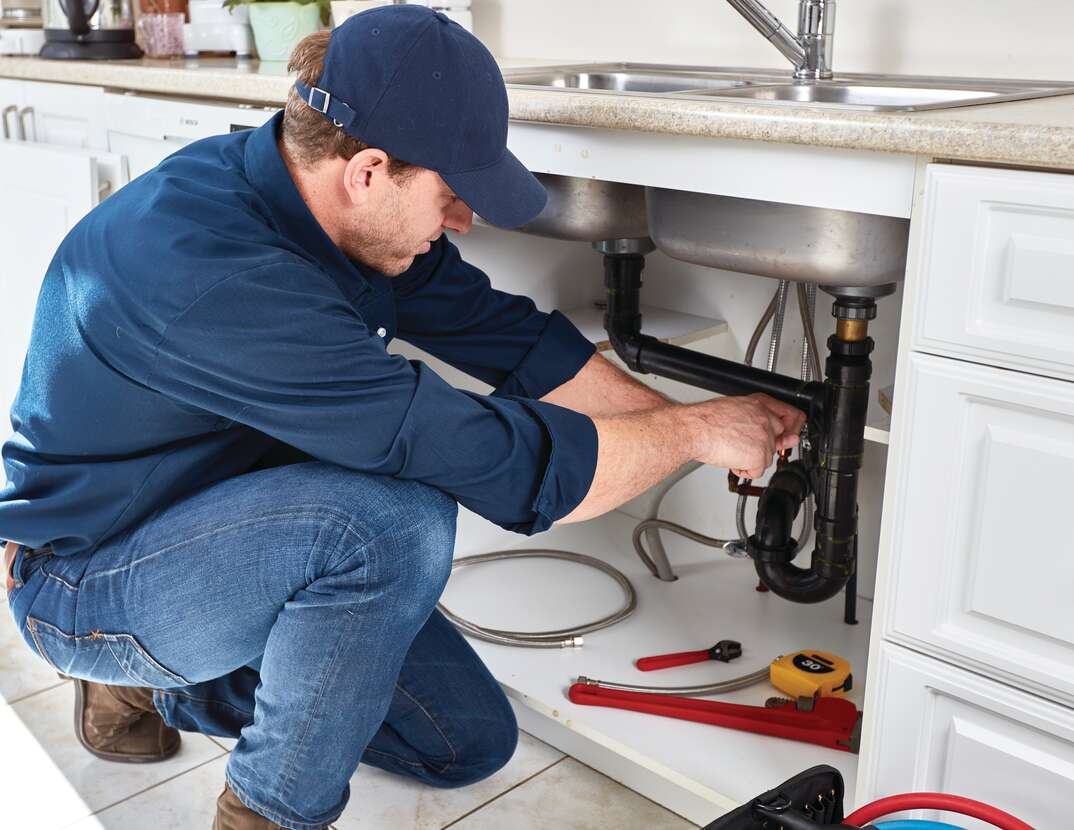
To execute a successful kitchen sink repair, it’s essential to gather the right tools and materials. Here’s a checklist to ensure you’re well-equipped:
Tools:
- Adjustable wrench
- Plunger
- Pipe wrench
- Plumber’s tape
- Screwdriver set
Materials:
- Epoxy adhesive
- Pipe sealant
- Replacement parts (if needed)
Repairing Common Issues
Leaky Faucet
A leaky faucet can be both annoying and wasteful. To fix this issue:
- Turn off the water supply.
- Disassemble the faucet, replacing any worn-out parts.
- Apply plumber’s tape to the threads before reassembling.
Clogged Drain
A clogged drain is a common problem that hampers sink functionality. Follow these steps:
- Use a plunger to dislodge minor clogs.
- For more stubborn clogs, employ a drain snake or auger.
- Consider using a chemical drain cleaner as a last resort.
3. Cracked Sink Basin
If you’ve identified a crack in your sink basin, it’s crucial to address it promptly:
- Clean the cracked area thoroughly.
- Apply epoxy adhesive, ensuring a seamless bond.
- Allow sufficient time for the adhesive to cure.
Advanced Repairs
1. Replacing a Kitchen Sink Faucet
Over time, faucets may become outdated or malfunction. To replace a kitchen sink faucet:
- Turn off the water supply.
- Disconnect the old faucet.
- Install the new faucet, securing connections tightly.
Fixing a Leaky Pipe
Leaky pipes can lead to water damage and increased water bills. Here’s how to fix them:
- Identify the source of the leak.
- Apply pipe sealant to the affected area.
- If necessary, use a pipe wrench to tighten connections.
Preventive Maintenance Tips
To avoid future kitchen sink issues, consider these preventive maintenance tips:
- Regular Cleaning: Keep your sink clean to prevent the build-up of debris.
- Avoid Harsh Chemicals: Steer clear of abrasive cleaners that can damage the sink’s finish.
- Prompt Repairs: Address minor issues promptly to prevent them from escalating.
Conclusion
In conclusion, mastering kitchen sink repair is an invaluable skill for every homeowner. By following this step-by-step guide, you can tackle common issues and even handle more advanced repairs. Remember, proactive maintenance and timely repairs can extend the life of your kitchen sink, ensuring a smoothly functioning and aesthetically pleasing focal point in your home.