Introduction
When it comes to home maintenance, there are times when you find yourself facing the daunting task of removing a bathroom sink. Whether it’s for a much-needed upgrade or a necessary repair, tackling this project requires precision and a step-by-step approach. In this comprehensive guide, we will walk you through the process of removing a bathroom sink with ease, providing valuable insights to make the task less intimidating.
Assessing the Situation
Before diving into the removal process, it’s crucial to understand the type of sink you have. Different sinks may have unique fixtures, and knowing what you’re dealing with will streamline the process. Start by turning off the water supply to the sink. Locate the shut-off valves under the sink or in the main water supply line.
Gathering Tools and Materials
To ensure a smooth removal process, gather the necessary tools and materials. This includes an adjustable wrench, pipe wrench, bucket, plumber’s tape, and a putty knife. Having these items on hand will prevent unnecessary interruptions during the removal process.
Step-by-Step Removal Process
Disconnecting Water Supply Lines
Begin by disconnecting the water supply lines. Use an adjustable wrench to loosen the nuts connecting the lines to the shut-off valves. Place a bucket beneath to catch any residual water, preventing potential messes.
Removing the Faucet
If your sink has a separate faucet, it’s time to remove it. Use a wrench to loosen the nuts securing the faucet in place. Gently lift the faucet, ensuring not to damage any surrounding fixtures.
Detaching the Drain
The next step involves detaching the drain. Use a pipe wrench to loosen the nuts connecting the P-trap to the drainpipe. Once loosened, carefully remove the P-trap and set it aside.
Loosening the Sink Clips
Many bathroom sinks are secured to the countertop with clips. Locate these clips and use a screwdriver to loosen them. This step ensures the sink is no longer attached to the countertop.
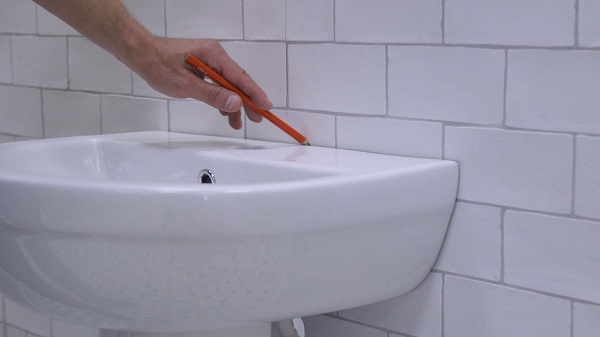
Cutting the Caulk
With the sink now free from most attachments, it’s time to address the caulk sealing it to the countertop. Run a putty knife along the edges to break the caulk seal. This will make it easier to lift the sink from the countertop.
Lifting the Sink
Finally, it’s time to lift the sink from the countertop. Enlist the help of a friend if needed, ensuring a smooth and careful removal. Lift the sink straight up, avoiding any unnecessary strain on the plumbing connections.
After Removal
Once the sink is successfully removed, inspect the area for any damage or wear. Clean the countertop thoroughly, removing any residual caulk or debris. If you plan on installing a new sink, now is the perfect time to make any necessary repairs or upgrades to the surrounding area.
Conclusion
Removing a bathroom sink may seem like a daunting task, but with the right approach and tools, it can be a manageable DIY project. Following these detailed steps will guide you through the process, ensuring a successful removal without complications. Remember, preparation is key, so gather your tools, take your time, and enjoy the satisfaction of completing this home improvement task.