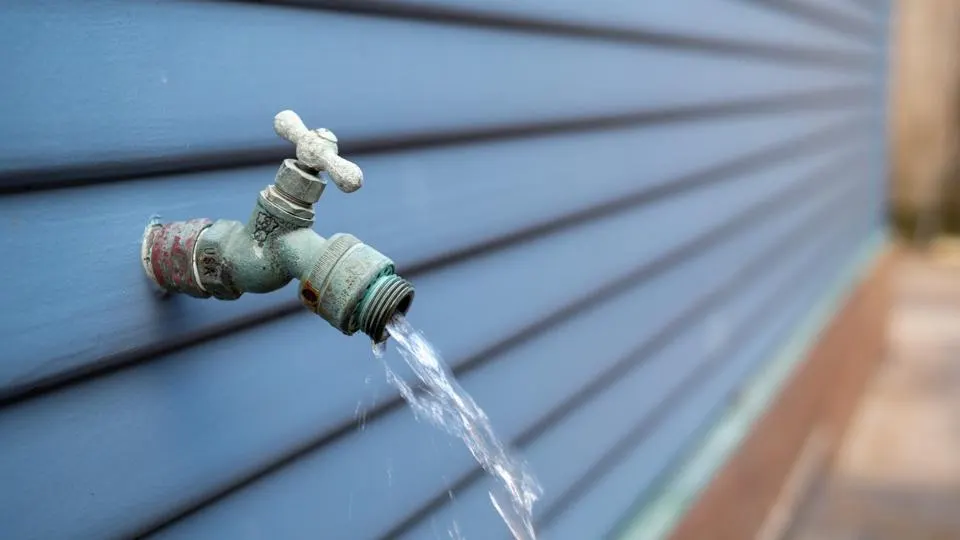
When it comes to maintaining your outdoor space, a leaky outdoor faucet can be a persistent nuisance. Not only does it waste water, but it can also lead to more significant issues if left unaddressed. At [Your Company Name], we understand the importance of a well-maintained outdoor area, and we’re here to provide you with a comprehensive guide on fixing that troublesome leaky outdoor faucet.
Understanding the Basics
Before diving into the specific steps of fixing a leaky outdoor faucet, it’s crucial to understand the basics of how these faucets work. Most outdoor faucets are of the [sillcock] variety, designed to prevent freezing during colder months. The common causes of leaks are often related to worn-out washers, damaged o-rings, or a faulty spigot.
Tools You’ll Need
Wrench Set
To access the internals of your outdoor faucet, you’ll need a reliable set of wrenches. Choose an adjustable wrench for versatility.
Replacement Parts
Gather replacement parts such as washers, o-rings, and lubricant. Ensuring you have the correct parts beforehand will streamline the repair process.
Plumber’s Tape
This handy tape is excellent for preventing leaks at threaded connections. Make sure to have it on hand for a thorough fix.
Step-by-Step Guide
Turn Off the Water
Locate the shut-off valve connected to the outdoor faucet and turn it off to prevent any further water flow. This is a crucial first step to ensure a safe and effective repair.
Remove the Handle
Using an appropriate wrench, carefully remove the handle of the outdoor faucet. This will give you access to the inner components that may be causing the leak.
Inspect and Replace Washers
Worn-out washers are a common culprit for leaks. Inspect the washer and replace it if necessary. Ensure the replacement washer is of the correct size and material. Check O-rings
Inspect the o-rings for any signs of damage. If you notice cracks or wear, replace the o-rings with new ones. Applying a small amount of plumber’s lubricant can enhance the o-ring’s performance.
Apply Plumber’s Tape
Wrap plumber’s tape around the threaded connections of the faucet. This helps create a watertight seal and prevents future leaks.
Reassemble the Faucet
Carefully reassemble the faucet, ensuring all components are securely in place. Use the wrench to tighten any loose connections.
Turn On the Water
Once you’ve completed the repair, turn the water back on at the shut-off valve. Check for any signs of leaks and ensure the faucet operates smoothly.
Preventative Maintenance Tips
To prolong the life of your outdoor faucet and prevent future leaks, consider the following maintenance tips:
Winterize Your Faucet
Before the cold season arrives, disconnect hoses and use an outdoor faucet cover to prevent freezing.
Regular Inspections
Periodically inspect your outdoor faucet for any signs of wear or leaks. Addressing issues promptly can prevent more significant problems.
Lubricate Moving Parts
Apply lubricant to any moving parts of the faucet to ensure smooth operation and reduce friction.
Conclusion
A leaky outdoor faucet can be a hassle, but with the right tools and knowledge, you can tackle the issue head-on. we hope this comprehensive guide empowers you to fix your outdoor faucet efficiently, saving you water and ensuring the longevity of your outdoor space.