Introduction
When it comes to transforming your kitchen, installing kitchen base cabinets is a pivotal step that demands precision and attention to detail. Our comprehensive guide ensures that you navigate this process seamlessly, creating a kitchen space that not only meets but exceeds your expectations.
Tools and Materials
To kick off this project, gather the essential tools and materials. For a flawless installation, you’ll need the following:
Tools
Power Drill
Level
Measuring Tape
Screwdriver
Pencil
Materials
Base Cabinets
Screws
Shims
Cabinet Hardware
Carpenter’s Glue
Step-by-Step Installation
Measure Twice, Cut Once
Precision begins with accurate measurements. Before diving into installation, measure the available space and mark the layout on the wall using a pencil. Ensure your measurements are precise to avoid any discrepancies during installation.
Assemble Cabinets
Before mounting, assemble your base cabinets according to the manufacturer’s instructions. Ensure all parts are intact and securely fitted, creating a stable foundation for your kitchen setup.
Locate Studs in the Wall
Use a stud finder to locate and mark the position of studs in the wall. Attaching your base cabinets to studs ensures a secure and durable installation.
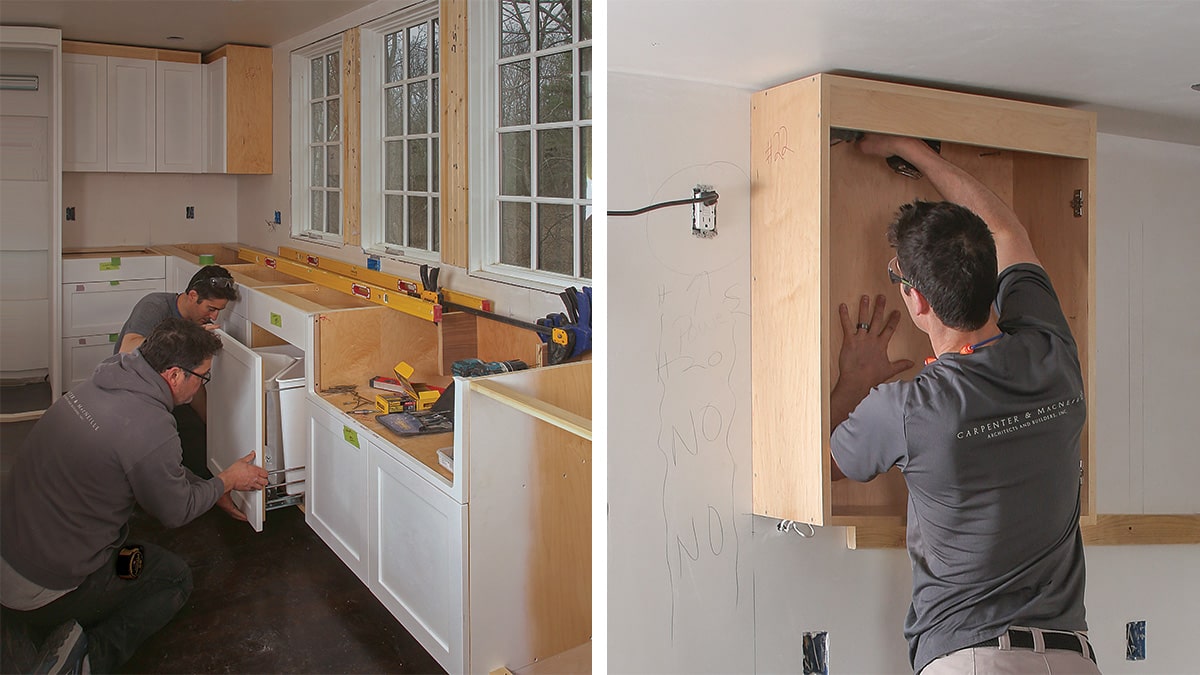
Position and Level Cabinets
Place the assembled cabinets against the wall, aligning them with the marked layout. Use a level to guarantee that the cabinets are perfectly horizontal and plumb. Adjust as needed, ensuring a seamless and professional appearance.
Secure Cabinets to Wall
Once aligned, use your power drill to secure the cabinets to the wall studs. Drive screws through the back of the cabinets into the studs, providing stability and ensuring your cabinets withstand the test of time.
Connect Cabinets Together
If installing multiple base cabinets, connect them securely using screws and carpenter’s glue. This enhances the overall strength and stability of your kitchen base, creating a unified and polished look.
Adjust for Level and Plumb
After securing the cabinets, recheck for levelness and plumb. Make any necessary adjustments using shims to guarantee a flawless installation.
Install Cabinet Hardware
Complete the look and functionality of your kitchen by attaching the selected cabinet hardware. Choose handles and knobs that complement your kitchen’s aesthetic while providing ease of use.
Final Touches
With your kitchen base cabinets securely installed, it’s time for the final touches that elevate your kitchen’s appeal.
Seal Gaps
Inspect for any gaps between the cabinets and the wall. Seal these gaps using a paintable caulk, ensuring a seamless and polished appearance.
Evaluate Levelness
Reassess the levelness of the cabinets and make any final adjustments if needed. A meticulous eye for detail guarantees a professional finish.
Celebrate Your Achievement
Stand back and admire your newly installed kitchen base cabinets. Revel in the satisfaction of a project completed with precision and expertise.
Conclusion
In conclusion, the installation of kitchen base cabinets is a transformative process that demands meticulous attention to detail. By following our comprehensive guide, you not only ensure a flawless installation but also create a kitchen space that reflects your style and functionality.