Introduction
Deck flashing is a crucial element in ensuring the longevity and structural integrity of your deck. In this comprehensive guide, we will walk you through the step-by-step process of installing deck flashing on an existing deck. Whether you’re a seasoned DIY enthusiast or a homeowner looking to enhance your deck’s durability, this guide is tailored for you.
Assessing Your Deck
Before diving into the installation process, it’s essential to assess your existing deck thoroughly. We recommend a detailed inspection to identify any areas prone to water damage or structural issues. Look for signs of rot, decay, or rust, as these can compromise the overall stability of your deck.
Gathering Materials and Tools
To commence the installation, gather the necessary materials and tools:
- Deck flashing material: Opt for durable materials like aluminum or galvanized steel.
- Tape measure: Ensure precise measurements for accurate installation.
- Metal snips: Essential for cutting the deck flashing to the required size.
- Drill with bits: Choose a drill bit suitable for the material of your deck and flashing.
- Screws: Stainless steel screws are ideal for a secure and rust-resistant installation.
- Sealant: Invest in a high-quality sealant to prevent water infiltration.
Step 1: Measure and Cut
Start by measuring the length of the areas where deck flashing is needed. Use a tape measure to ensure accuracy. Once measured, cut the deck flashing material to fit the specific dimensions. We recommend leaving a slight overhang for optimal water runoff.
Step 2: Clean the Deck Surface
Before attaching the deck flashing, thoroughly clean the deck surface. Remove any debris, dirt, or existing sealant to ensure a secure bond between the flashing and the deck. A clean surface also promotes better adhesion of the sealant.
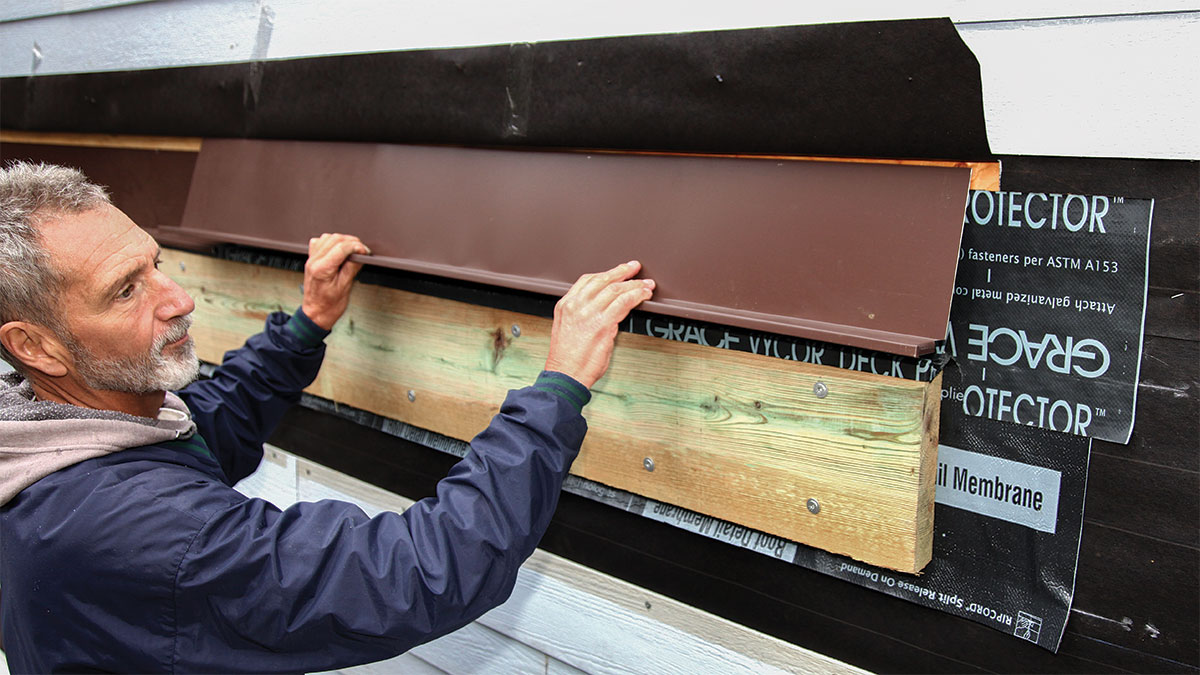
Step 3: Positioning the Flashing
Carefully position the cut deck flashing along the targeted areas, ensuring a snug fit. We suggest starting from one end and gradually working your way to the other, securing the flashing in place temporarily with clamps.
Step 4: Pre-Drilling Holes
To prevent any splitting or cracking of the deck material, pre-drill holes through the deck flashing into the deck structure. Space the holes evenly, keeping in mind the material’s thickness and the overall dimensions of your deck.
Step 5: Securing the Deck Flashing
Using stainless steel screws, secure the deck flashing in place. Tighten the screws sufficiently to create a watertight seal but avoid over-tightening, as it may distort the flashing material. Ensure equal spacing between screws for uniform stability.
Step 6: Sealing the Edges
Once the deck flashing is securely attached, apply a generous amount of high-quality sealant along the edges. This additional layer acts as a barrier against water infiltration, safeguarding your deck from potential water damage.
Step 7: Final Inspection
Conduct a final inspection of the installed deck flashing. Check for any loose screws, gaps in the sealant, or areas that may require additional attention. This meticulous examination ensures that your deck is well-protected against the elements.
Conclusion
Congratulations! You’ve successfully installed deck flashing on your existing deck, enhancing its resilience and longevity. Regularly inspect and maintain the flashing to ensure continued protection against water damage. Follow these steps diligently, and your deck will not only withstand the test of time but also exude a timeless appeal.