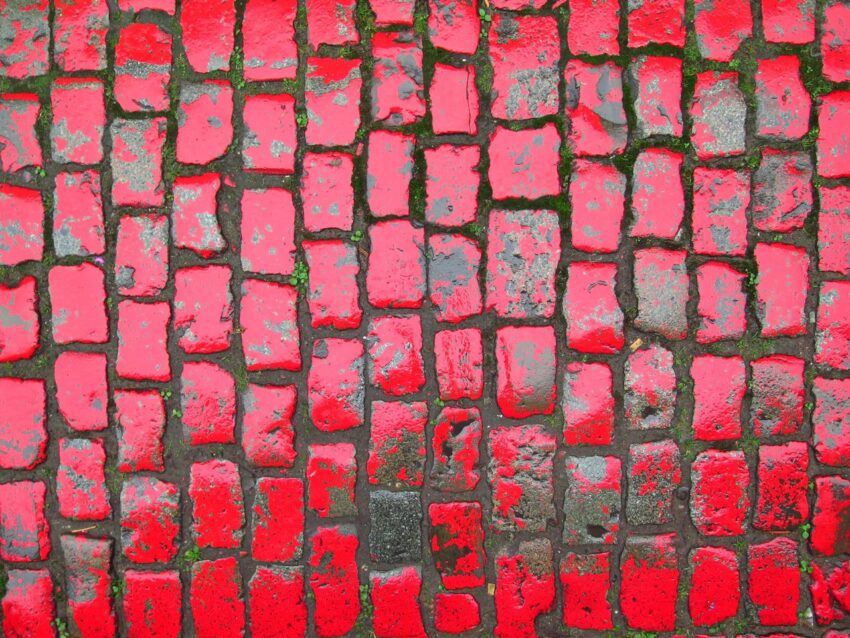
Paver blocks are a popular choice for outdoor landscaping due to their durability and aesthetic appeal. However, over time, they can start to look dull and faded. One excellent way to revamp your outdoor space is by painting your paver blocks. We’ll walk you through the process of paver block painting, from preparation to the finishing touches, to help you achieve stunning results.
Preparing for the Project
Before you begin your paver block painting project, it’s essential to gather all the necessary materials. You’ll need:
Paver Blocks: Ensure that the blocks are clean, dry, and free from any previous coatings or sealants.
High-Quality Paver Block Paint: Opt for paint that is specially formulated for exterior use and is designed to withstand outdoor elements.
Cleaning Supplies: A power washer or a strong hose, along with mild detergent, will help you thoroughly clean the paver blocks.
Painter’s Tape: Use painter’s tape to protect surrounding areas like adjacent walls or planters from accidental paint splatters.
Paintbrushes and Rollers: Depending on the size and texture of the paver blocks, you may need both brushes and rollers.
For ensuring your safety: it is crucial to wear suitable protective equipment, including gloves, safety goggles, and a mask, when involved in the painting process. These precautions will help keep you safe and protected. These precautions will help safeguard you throughout the project.
Paver Block Painting Process
Now that you have gathered your materials, let’s dive into the paver block painting process:
Clean the Paver Blocks: Use a power washer or a strong hose to clean the paver blocks thoroughly. If there are stubborn stains, a mixture of mild detergent and water can help remove them. Allow the blocks to dry completely before proceeding.
Apply Painter’s Tape: Carefully apply painter’s tape along the edges of the paver blocks to protect adjacent areas from paint splatters.
Prime the Surface (Optional): If your paver blocks have never been painted before, applying a primer can enhance the adhesion of the paint and provide a more even finish.
Start Painting: Using a paintbrush or roller, apply an even coat of paver block paint on the surface. Work methodically, covering one block at a time to ensure uniformity.
Allow to Dry: Follow the manufacturer’s instructions for the paint’s drying time. It’s essential to allow sufficient drying time between coats if you plan to apply multiple layers.
Apply Additional Coats: For better coverage and a more vibrant color, apply additional coats as needed. Just remember to let each coat dry completely before applying the next.
Finishing Touches: Once the final coat is dry, remove the painter’s tape carefully. Inspect the painted surface for any touch-ups needed.
Maintenance and Longevity
To preserve the aesthetic appeal and extend the lifespan of your newly painted paver blocks, it’s essential to follow these helpful guidelines:
Frequent Cleaning: Periodically cleanse the painted paver blocks using a gentle detergent and water solution to eliminate accumulated dirt and debris.
Avoid Heavy Machinery: Refrain from using heavy machinery or abrasive tools on the painted surface, as they may cause damage.
Reapply Sealant (Optional): To protect the paint from weather elements and wear, consider applying a clear sealant over the painted paver blocks.
Conclusion:
Transforming your outdoor space with painted paver blocks is a rewarding and cost-effective way to revitalize your surroundings. By following this comprehensive and user-friendly guide, along with selecting suitable materials, you will achieve an impressive final outcome that is sure to captivate visitors and elevate the value of your property. So, roll up your sleeves, gather your supplies, and embark on this enjoyable DIY project to elevate the charm of your outdoors.