Introduction
Unlocking the mysteries of lock drilling is an essential skill for both locksmiths and enthusiasts seeking to broaden their knowledge of security systems. In this comprehensive guide, we delve into the intricate process of drilling out locks, providing you with a step-by-step roadmap to mastering this delicate craft. the Art of Lock Drilling
Understanding the Basics
What is Lock Drilling?
Lock drilling is a technique used to gain access to a lock when traditional methods fail. It involves carefully creating a hole in the lock mechanism, allowing for the manipulation of internal components to achieve an unlocked state.
When is Lock Drilling Necessary?
Lock drilling becomes necessary in situations where picking or other non-destructive methods prove ineffective. Emergency scenarios or cases where quick access is imperative may warrant the use of this technique.
Essential Tools for Lock Drilling
Before embarking on the journey of lock drilling, it’s crucial to assemble the right set of tools. Here are the key instruments you’ll need:
1. Quality Drill
Investing in a high-quality drill ensures precision and efficiency. Opt for drills with adjustable speed settings for better control.
2. Drill Bits
Selecting the right drill bits is paramount. Tungsten carbide drill bits are known for their durability and effectiveness in penetrating hardened surfaces.
3. Protective Gear
Safety first! Equip yourself with safety goggles to shield your eyes from potential debris and gloves to protect your hands during the drilling process.
Step-by-Step Guide to Lock Drilling
Step 1: Assessment
Begin by thoroughly assessing the lock. Identify vulnerable points and potential weak spots that make drilling a viable option.
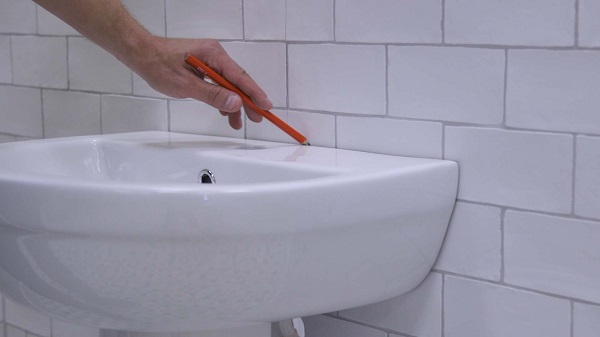
Step 2: Marking the Drilling Point
Use a marker to clearly designate the precise point where you’ll be drilling. Accuracy is key to avoiding unnecessary damage to the lock.
Step 3: Pilot Hole Creation
Start with a smaller drill bit to create a pilot hole. This initial hole serves as a guide for the larger drill bit in the subsequent steps.
Step 4: Increasing Drill Bit Size
Gradually progress to larger drill bits to widen the hole. Exercise caution to prevent overheating, which can damage the drill bits and compromise the process.
Step 5: Manipulating Internal Components
Once a sufficient hole is drilled, use specialized tools to manipulate the internal components of the lock, such as the pins and springs, facilitating the unlocking process.
Step 6: Unlock and Replace
Once the lock is successfully drilled out and unlocked, replace it with a new lock to restore security.
Safety Considerations
Safety Precautions During Lock Drilling
Always wear protective gear.
Work in a well-ventilated area to avoid inhaling fumes.
Use the appropriate drill bits for the specific lock material.
Conclusion
Mastering the art of lock drilling requires a combination of precision, skill, and the right tools. This step-by-step guide provides a comprehensive overview of the process, ensuring that you can confidently navigate the intricacies of lock drilling when needed.